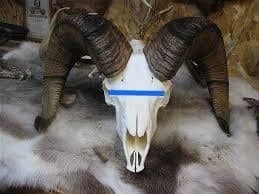
Sheep Trophy Care
Proper field care techniques for Dall sheep — what makes their hide different, how to clean and skin in the field, and how to keep a cape worth mounting.
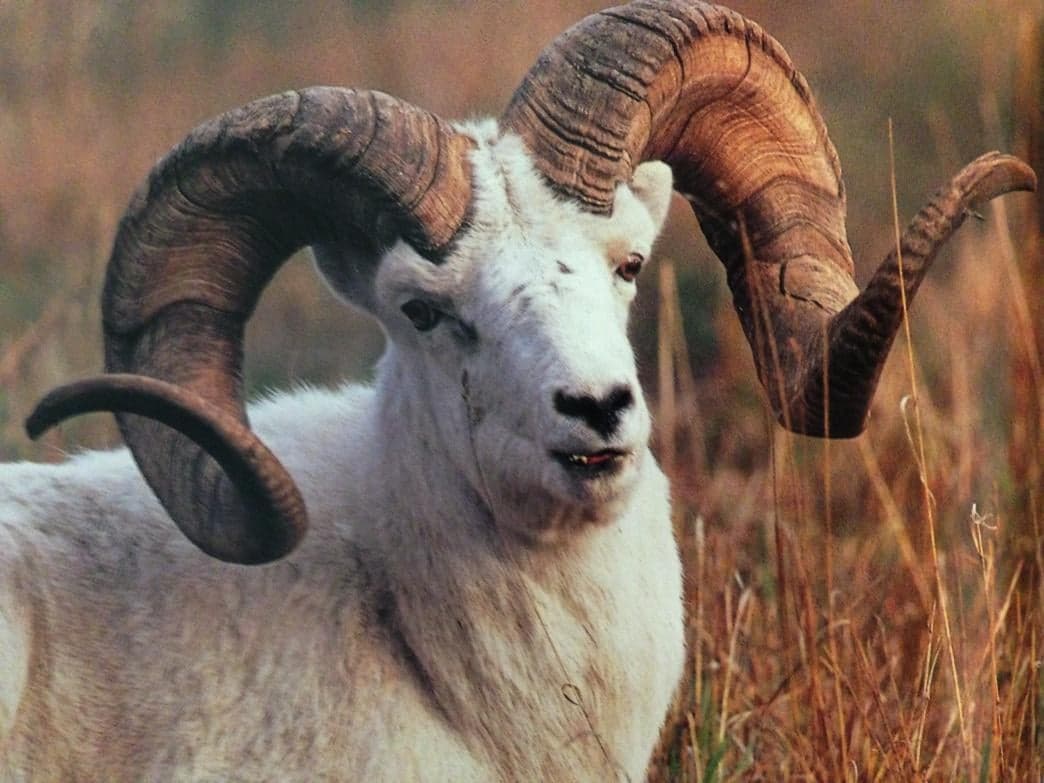
What Makes Dall Sheep Different
- Hollow hair
- Color
- Their skin
- The conditions of the hunt

My Number One Rule
- A clean animal in the field means a better looking mount!
- (Hollow hair) Clean the hair immediately! The longer blood and dirt sits on the hair the more the hair absorbs.
- Keep the horns clean of blood. Blood stains everything including horns.
Why cleaning in the field is so important
- The tanning process darkens any blood stains on the hair.
- Bleach is very hard on hair. It is actually burning off the tips of the hair. As a result, the longer your skin has to be bleached, the more fragile and brittle the hair becomes.
Know what you plan to do with your trophy ahead of time.
- The cuts you make and the method you use to skin your sheep will depend on what you plan to do with your skin.
- Life size, half life size, cape?
Skinning
- Never cut from the outside in.
- Turn your knife over and cut from underneath the skin outward. This avoids cutting the hair.
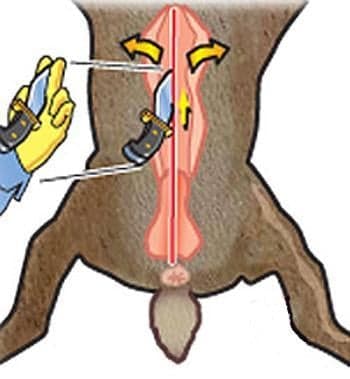
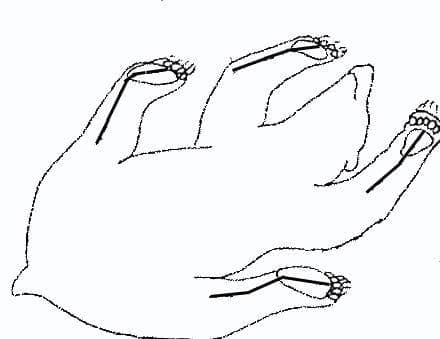
The 3 methods of skinning
- Caping
- Life size belly cut also known as the flat cut
- Life size dorsal cut
Follow the hair patterns!
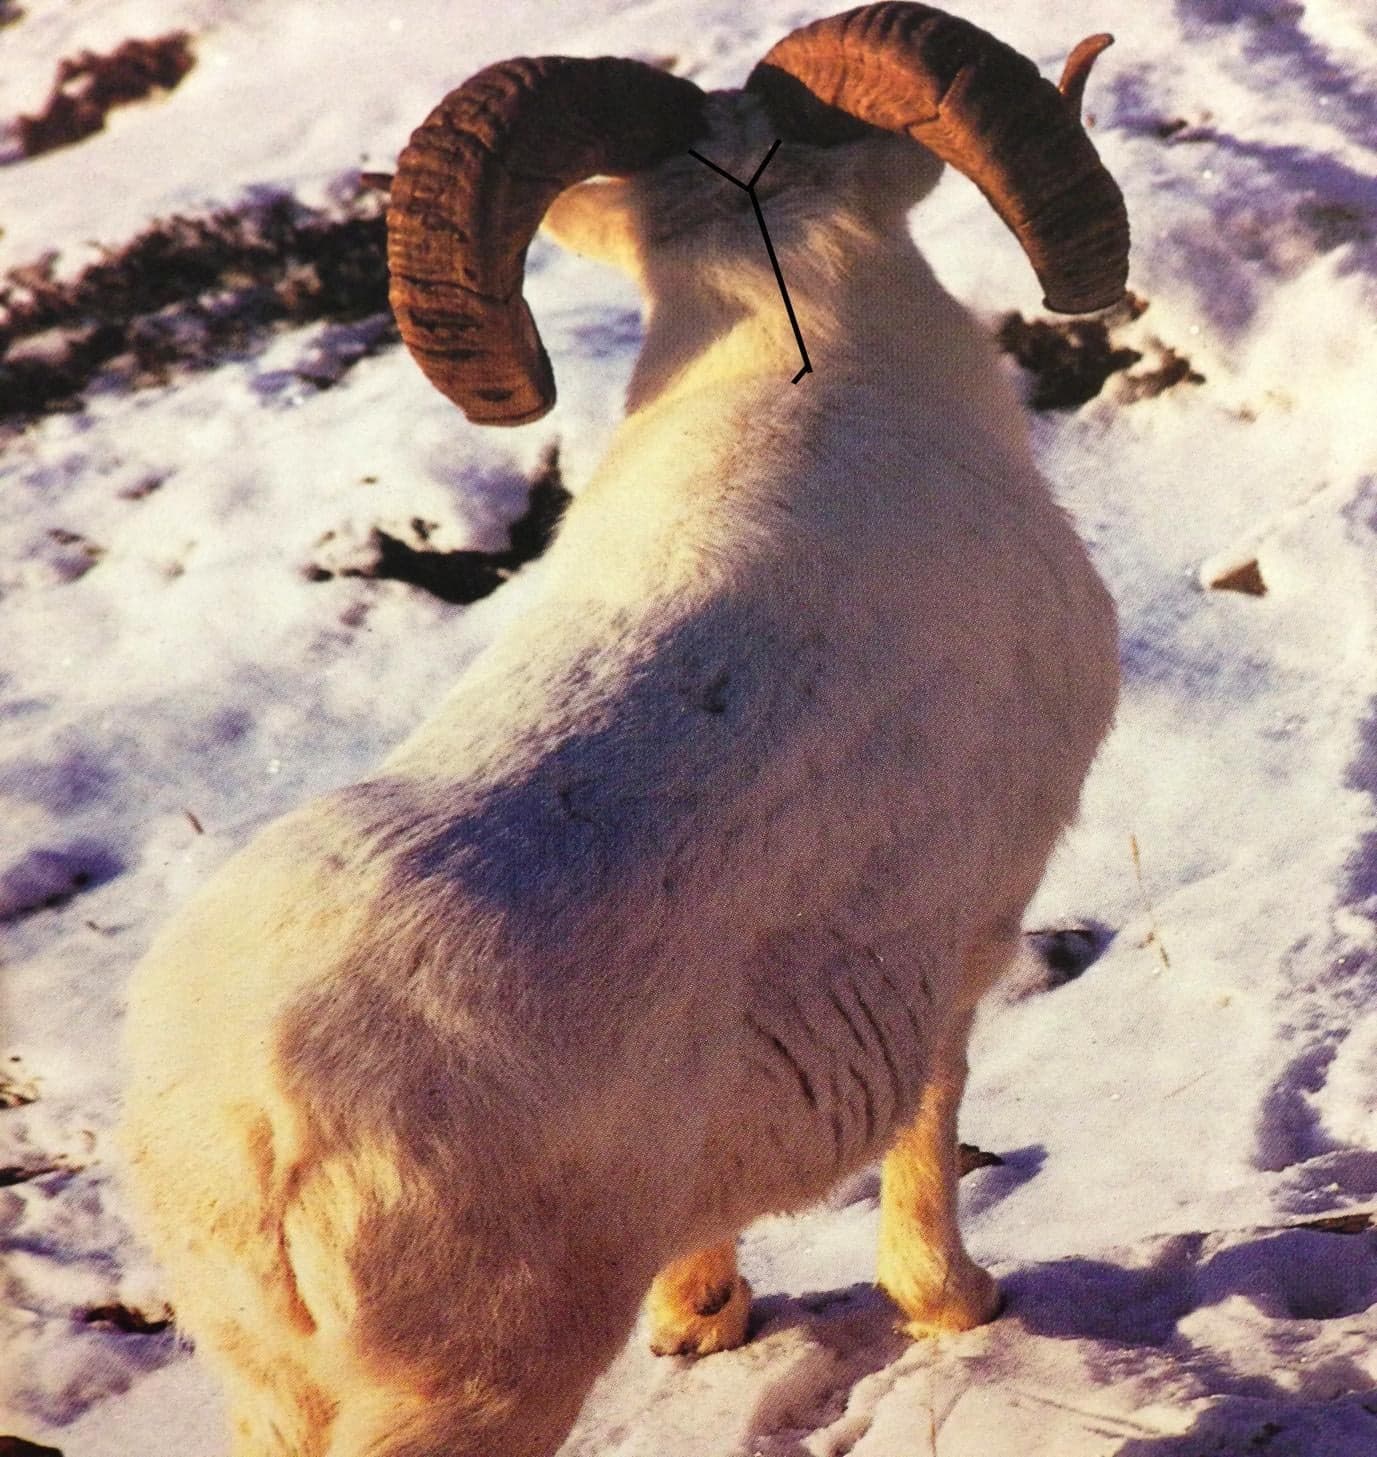
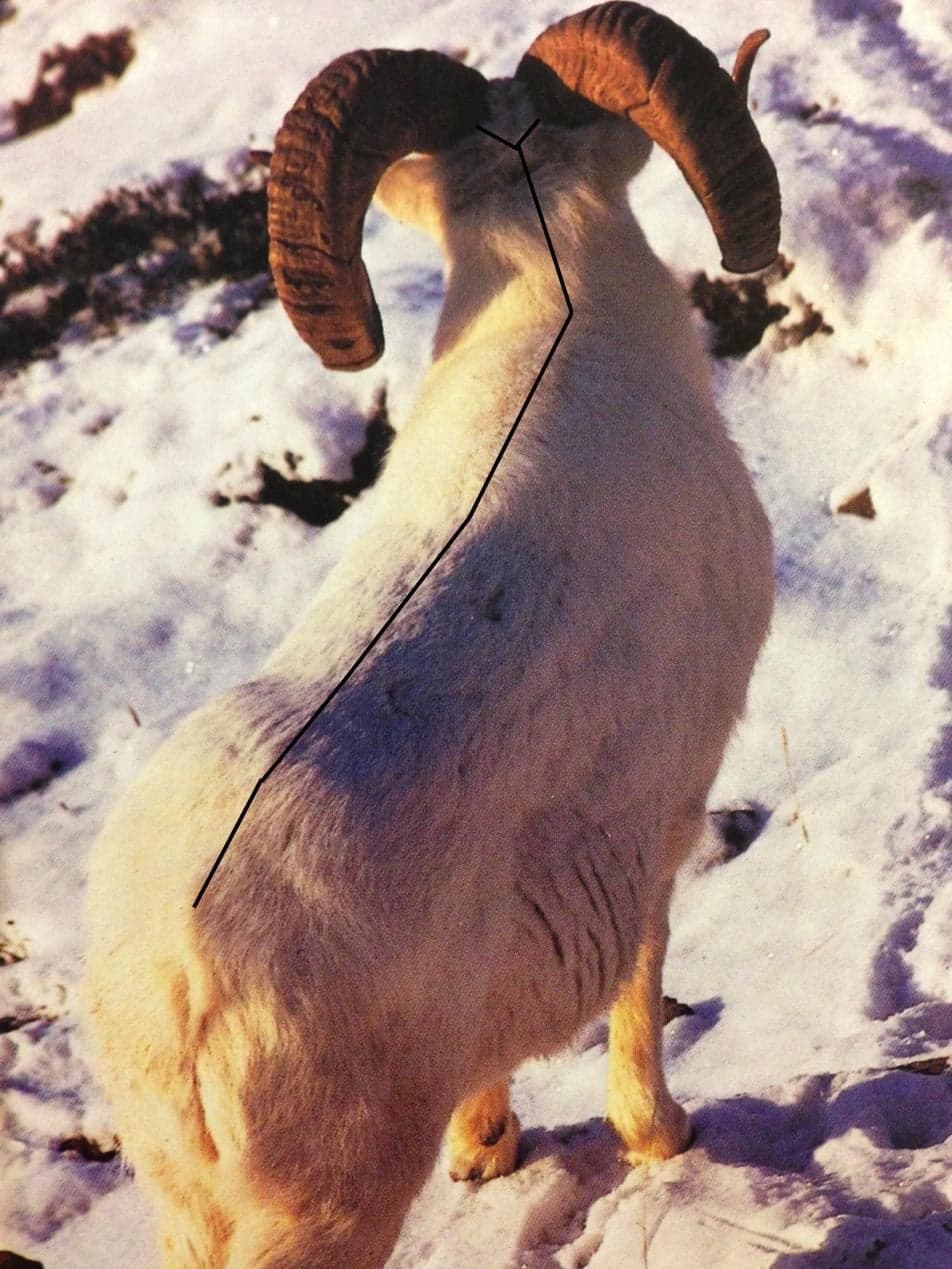
- All initial cuts are done following the already existing map of hair patterns on the animal. The hair patterns will show you exactly where to cut.
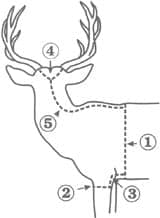

Life Size Belly Cut (Most Common)
- Make a Y cut and center cut on the back of the sheep's neck and head in the same manner as you would if you were making cape only cuts.
- Stop the center cut just in front of the shoulders.
- When skinning using a belly cut be sure not to extend the middle incision past the brisket and into the neck.
- Do not cut through the scrotum. In this area make a loop around the genitals and back to the middle to continue the straight cut up to the brisket.
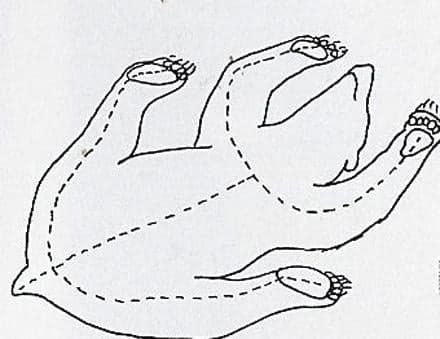
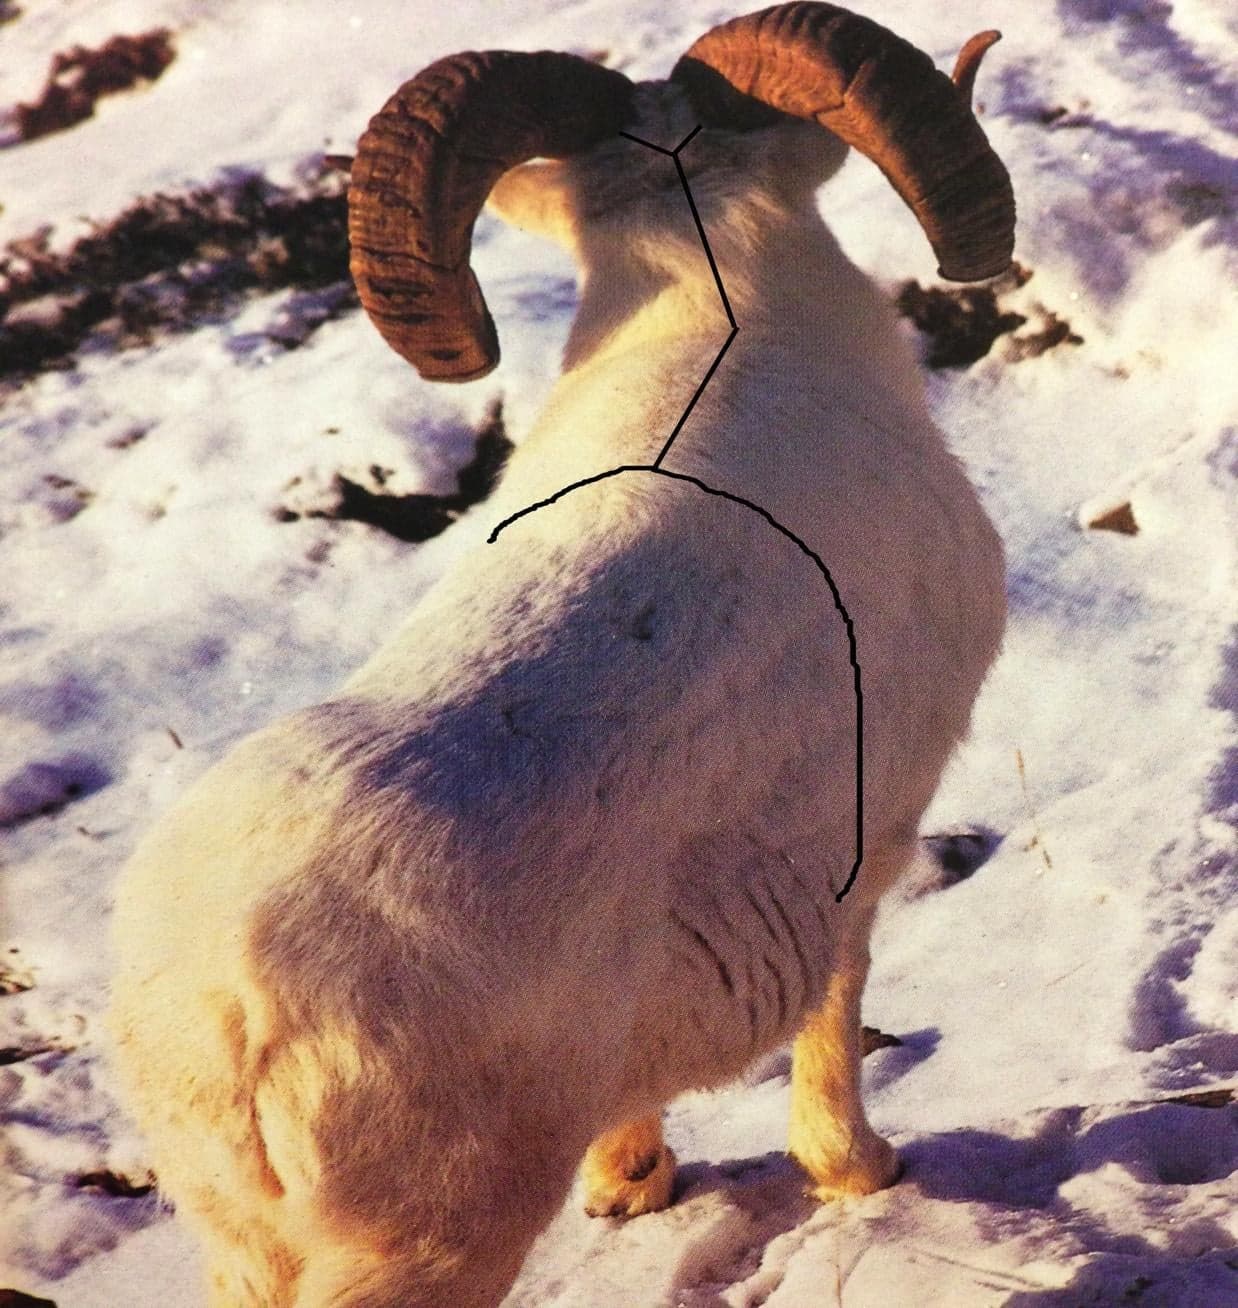
Life Size Dorsal Cut
- Make a cut on the front and back legs from the hooves to the elbows following the hair pattern on the back of the legs.
- Make your caping cuts on the back of the neck and head (the Y and the center cut). Extend the center cut all the way down the middle of the back to the tail.
How to Keep Your Skin in Good Condition While in the Field
- Wash as much of the blood and dirt off the hair as possible.
- Take the time to properly flesh and turn your skin.
- Salt or spray your skin to prevent bacterial growth.
Bacteria damages the outer layer of skin and the hair roots causing the hair to slip.
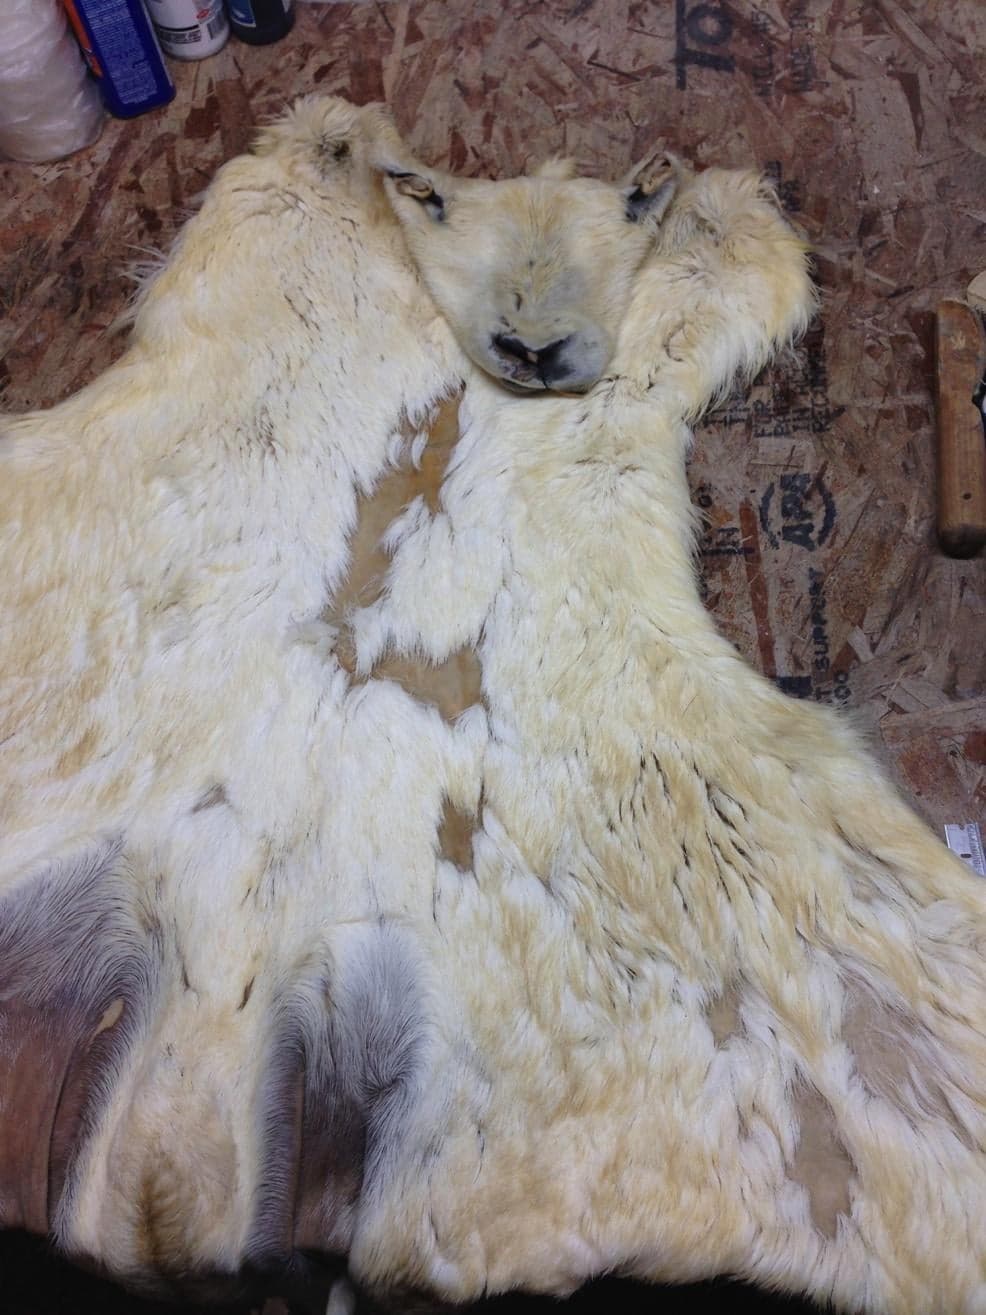
Proper Turning and Fleshing
- Ears
- Eyes
- Nose
- Lips
- Remove fat and muscle
Citric Acid Spray
- Food grade citric acid makes a great alternative to packing 25 pounds of salt up the mountain! ( Caribou Gear Game Bag Spray, Indian Valley Game Saver, or similar)
- This is a stall only NOT a permanent solution. It acts to prevent bacterial growth and gives you more days in the field before you must properly salt and dry your skin.
- After properly turning and fleshing the skin, soak the skin side with the spray. Spread out to dry (hair side down), then roll up (hair side out) and place in a game bag. Store in a cool, dry, shaded area with some air circulation.
Two Common Misconceptions
- NEVER salt a skin before properly turning and fleshing it first!
- NEVER salt a skin and then freeze it! The skin should either be frozen raw and unsalted or salted and properly dried. Once a skin is salted it must be allowed to dry completely. It is then ready for the tanning process.
Salt
- Use fine grain, non-iodized salt.
- Be sure to rub the salt in well onto every square inch.
- Leave the skin spread out in a cool, dry, shaded place with good air circulation to drain.
- After the skin has drained, hang it to allow the air to circulate and dry all sides.
Good Luck on Your Trips!
WILD REFLECTIONS Chugiak, AK

More from the Bench
Other articles
Browse the rest of the field guide — straightforward, studio-grade taxidermy notes from Grant.